
Fusion Generator:Kresty Style Build:Simple Lighting
Back to Kresty Style Build guide page.
Diffusion Panels
There's a large lower diffuser and a smaller upper diffuser. The upper diffuser pretty much needs to be in place when the top and window panel is assembled, so it needs assembled after painting those bits.
The lower diffuser fits inside the open spaces of the grill.
If you use a clear diffuser it's probably not going to "glow" very well. I resolved that by placing a sheet of paper inside the grill (okay, two sheets, it's too big for one).
Simple Lighting
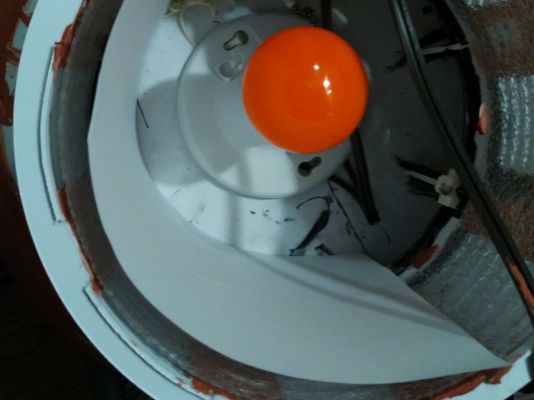
Valor found a great orange 120V Phillips LED bulb that I think works great. I'd planned on fancy programmable lights, but I'm quite happy with this LED.
- 120V LED colored lightbulb
- "Lampholder" (I got a $2.99 one with a pullchain, way cheaper than a switch for the cord)
- Cord - I used a $2 brown extension cord and chopped the end off. Way cheaper than getting a separate lamp cable.
Drill a little hole through a lower edge of the "back" of the base. Chop off the extension cord's outlet side. Run the cable through the hole and wire it into the Lampholder. Fix the lampholder somehow. If you have a pullchain, run the string out the hold with the cord.
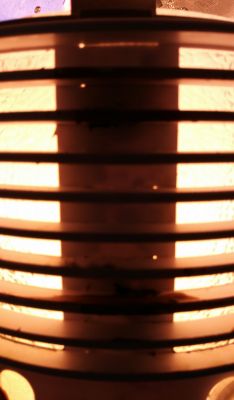
Light Leaks
Check your assembly to see if it's leaking unwanted light. I had pinholes on the base and uneven spots on the top.
I patched the pinholes the inside with ABS cement (since I'm using ABS and it also sticks to styrene). You may want to do this before finishing your paint in case you have to retouch the outside.
For the thin spots on the top I sprayed more primer.
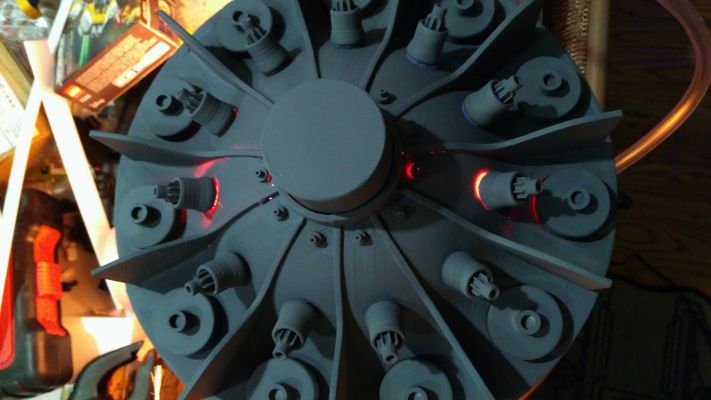
Fancy Lights
My original intent was to use WS2812B "neopixel" style programmable LEDs, but since the "simple light" works so well, I may not bother. Larger chargers inside the fusion reactor may mean the 120V lightbulb won't fit, requiring that smaller or more strategically placed LEDs need to be used.
I normally run a battery powered Arduino mini for my droid lighting, but if this doubles as a charger, it wouldn't be difficult to power it from the mains instead (make sure to use a fuse in case everything goes wrong!).
Since I haven't made fancier lights I don't have detailed guides, however there are numerous examples of using NeoPixel style lights on the web. (Heck, we should add that to the wiki, that's useful for lots of droids and props!)
One thing to be careful of is that the power regulator on an Arduino is typically limited to 500mA or so. An RGB LED can draw 80mA, so if you have more than 4 or 5 you probably need to use a separate voltage regulator. (I get Arduino Pro Nano clones from banggood since only one data line is needed, then use an external regulator for both that and the LEDs).
Back to Kresty Style Build guide page.
Forward to Prop Power Cord