
Fusion Generator:Kresty Style Build:Flat Pack
Back to Kresty Style Build guide page.
Contents
Laser Cut "Flat Pack" Parts
Kresty's build is based on Kresty's flat pack, rearranged for laser cutting.
The flat pack files are in the RebelDroids files section.
The laser cut flat packs consist of parts cut on 1/16" (1.5mm) and 1/8" (3mm) styrene (polystyrene) and 2 additional translucent diffuser parts.
Cutting Instructions
Each sheet has a PDF file set an appropriate size for the parts (primarily 18" x 24".) Some laser cutter drivers are sensitive to the sheet sizes, so you may need to use care with the print settings.
All sheets have a scale to ensure that the parts are printing at 100% size.
Optionally, sheets could be printed on paper and used as a template for hand-cutting.
Each sheet consists of 0.1pt RGB #000 black lines for vector cutting. The raster shapes in other colors should be ignored and not cut.
Each sheet has a 0.1" (2.5mm) margin around the edge to allow for positioning error, but I'd recommend checking before cutting anyway! Most lasers will let you run a preview at 100% speed with the lid open before doing the cut at the slower cutting speed.
Current version is V3.0
Laser Sheet A
1/16" (1.5mm) Styrene Sheet, 24" x 18" (610mm x 457mm) Vector cut the RGB #000 Black 0.1pt lines, skip all other colors and raster shapes.
Parts:
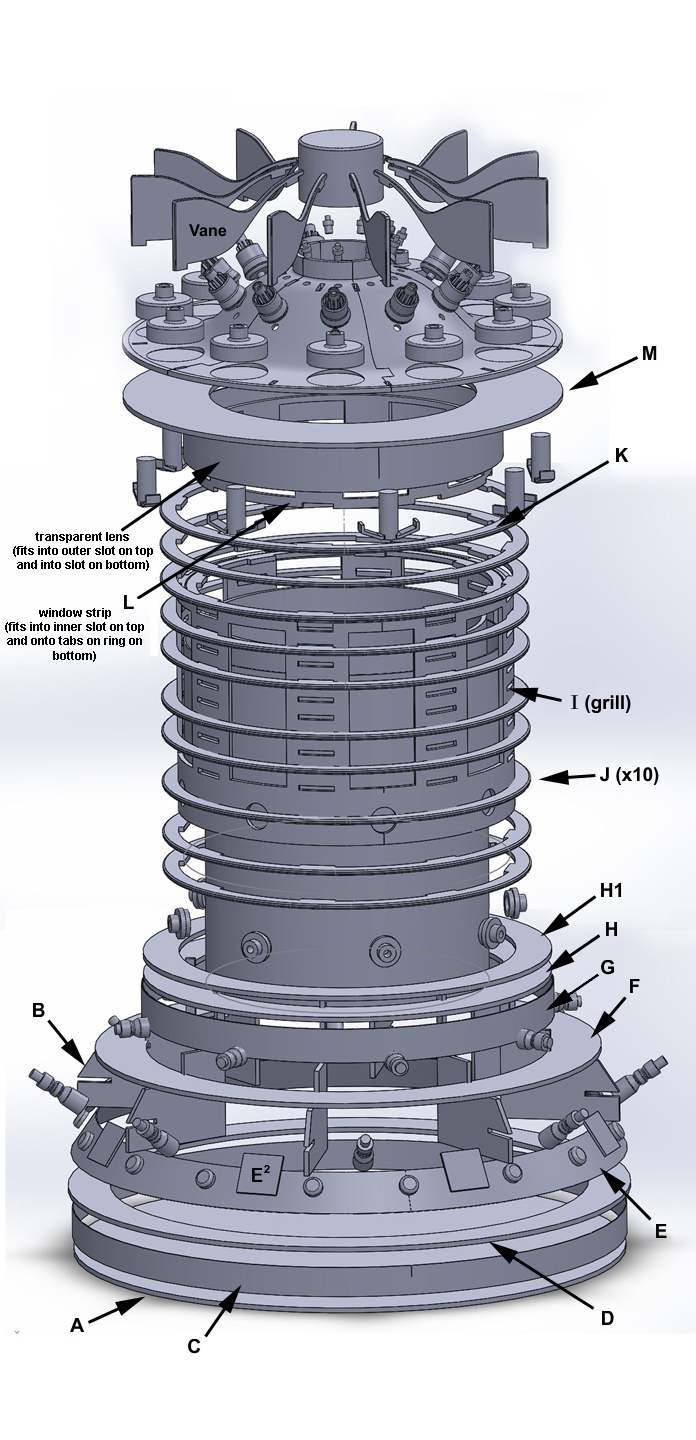
- E1 Band - 1 half section
- E2 Band - 1 half section
- G1 Band - 2 two-thirds sections
- G2 Band - 2 one-thirds sections (may need trimmed for installation), allowing 2 layers
- I Grill - 2 half sections
- L Window Strip - 1
(Optional E² E Band square - Kresty used printed round caps instead)
Laser Sheet B
1/8" (3mm) Styrene Sheet, 24" x 18" (610mm x 457mm) Vector cut the RGB #000 Black 0.1pt lines, skip all other colors and raster shapes.
- B Supports - 5 of 8 (for short canon model)
- H Ring - 1 Ring
- J Ring - 1 Ring (counts as 2 of 18 halves)
- J Ring - 8 of 18 halves
- Vane - 8 of 11
(Optional E² E Band square - Kresty used printed round caps instead)
Laser Sheet C
1/8" (3mm) Styrene Sheet, 24" x 18" (610mm x 457mm) Vector cut the RGB #000 Black 0.1pt lines, skip all other colors and raster shapes.
- B Supports - 3 of 8 (for short canon model)
- F Ring - 1 Ring
- H1 Ring - 2 halves
- J Ring - 5 of 18 halves
- J Top Ring - Top J Ring is extra thick to support the K Ring
- K Ring - 2 halves
- Vane - 4 of 11
Laser Sheet D
1/8" (3mm) Styrene Sheet, 24" x 18" (610mm x 457mm) Vector cut the RGB #000 Black 0.1pt lines, skip all other colors and raster shapes.
- A Base - 1 disc (for shorter canon version)
- J Ring - 3 of 18 halves
- M Ring - 1 ring (base of top)
Lower Diffuser
1/16" (1mm) acrylic Diffuser, page is 13" x 4.5" (330mm x 114mm) (Choose any diffuser, like those used in a fluorescent light) Vector cut the RGB #000 Black 0.1pt lines, skip all other colors and raster shapes.
- Lower Diffuser - 2 halves
Alternatively the alternate 1x lower diffuser could be cut to the width of the laser bed or sheet stock. this is slightly shorter than the inner grill, however if you're lucky it fits some builds very well, except for one of the opaque columns.
Note that the Lower Diffuser can be any thickness, however the upper diffuser needs to be 1/16" (1.5mm) or thinner. They don't have to be the same material however.
Upper Diffuser
1/16" (1mm) Acrylic Diffuser, page is 13" x 2.5" (330mm x 63mm) (Choose any thin diffuser, like those used in a fluorescent light) Vector cut the RGB #000 Black 0.1pt lines, skip all other colors and raster shapes.
- Upper Diffuser - 2 halves
Note that the Upper Diffuser is more sensitive to material thickness than the Lower Diffuser, however you may choose different diffuser materials if you would like.
Notes
In my version I used the Laser Cutter (could use a CnC) to cut the vanes. Savage originally specified 3D printing.
The laser cut files include "E²" E Band squares - mostly because I could and Savage originally specified squares. Reviewing the source photos however, I decided that they were more likely round and created 3D caps. Use whichever you prefer.
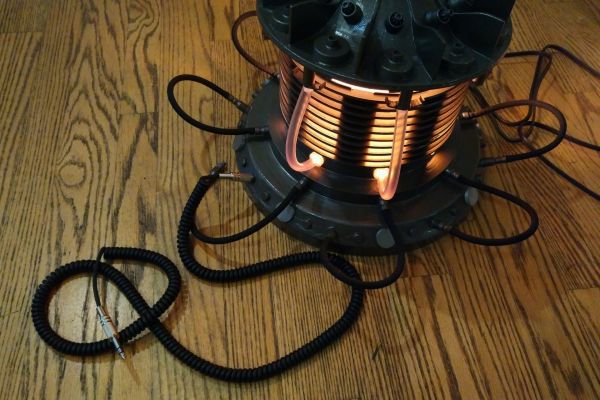
I built mine with an extra ~1" riser below the bottom sloped section, so there may be slight differences between the drawings, my photos, and the way it should be built.
Back to Kresty Style Build guide page.
Forward to Alignment Template